Contouring isn’t a new concept within the world of makeup. In fact, contouring was first used in the silver screen era, when photography first became widespread. Black and whites that exhibited a strong, glamorous movie contour look became incredibly popular, and today’s magazine and runway models still feature contouring as a key component of their look.
I always caution my clients that true film and photography contouring is not wearable on the street, due to its severity. However, by following my tips below, you can create a beautiful contour that can be worn to any special occasion. Ask me to pick out the perfect contouring color for your skin tone next time you’re in my studio!
—
Step #1: Assemble your brushes
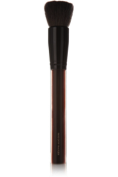
- Kevyn Aucoin Fan Brush, $60 – Use to create cheekbone highlights and forehead highlights
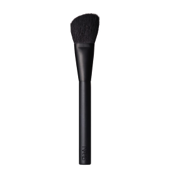
- Ambient Lighting Powder Brush, $35 – Use to highlight nose and cheeks
- Kevyn Aucoin Super Soft Buff Powder Brush, $60 – Use for jawline and all the way to the ear to make neck appear narrower
- #21 Nars Contour Brush, $42 – angled perfectly for sculpting cheekbones
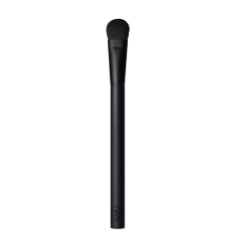
- #41 Nars Diffusing Brush, $32 – for contouring the nose and eyelids


Step #2: Identify where to contour
Pull your hair back from your face, stand in front of a well-lit mirror, and angle your head down slightly. You’ll see a slight contour indent in the middle of each cheek. Contouring is for any recessed area of the face, and works wonderfully for eyes, cheeks, and the nose.
Step #3: Apply your contouring color
Don’t go all the way to your hairline when contouring your cheeks. Start just before the hairline, and apply color until you reach a spot on your cheek in line with the middle of your eye. And, when contouring your neck, apply color under the jawline, not ON the jawline. Start behind the hairline for your neckline.
—
Have fun creating your hot runway look!